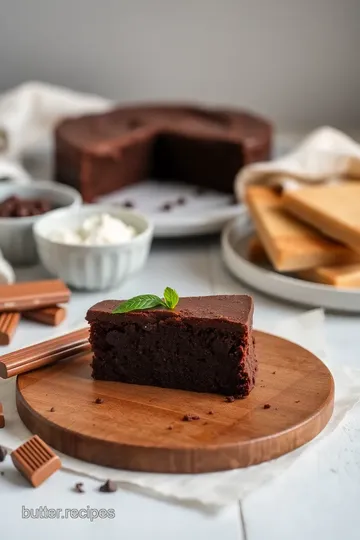
Decadent KitKat Crunch Chocolate Cake
Indulge in this Quick Chocolate Cake with KitKat Crunch! A moist and easy chocolate dessert that’s perfect for any occasion. Check out the recipe now!

- Sweet Memories: Why I Love Quick Chocolate Cake with KitKat Crunch
- A Slice of History
- Why This Cake Rocks
- The Real Deal Benefits
- Let’s Talk Ingredients
- Essential Ingredients Guide
- Get Ready for Professional Cooking Method Hacks
- Pro Tips & Secrets for a Delectable Chocolate Cake
- Perfect Presentation: Take it Up a Notch!
- Storage & Make-Ahead for the Win
- Creative Variations: Switch It Up!
- Complete Nutrition Guide: Know What You’re Eating
- Celebrate with Cake!
- Frequently Asked Questions
- Recipe Card
Sweet Memories: Why I Love Quick Chocolate Cake with KitKat Crunch
Oh man, let me tell you about the time i decided to whip up a quick chocolate cake with kitkat crunch for my buddy’s birthday.
Honestly, i wasn't planning on baking anything complicated. but then i thought, “why not jazz it up a little?” who wouldn’t perk up at the idea of rich chocolate layered with crunchy kitkat goodness? it ended up being a hit! people were like, “this is the best cake ever!” and you know how it is when you feel like a rockstar in the kitchen—it’s magical!
Now, if you’re like me and love chocolate treats, this kitkat cake recipe is your new best friend. it’s not just about the deliciousness; it’s straight-up easy to make.
With a moist texture and that satisfying crunch, this cake is the ultimate easy chocolate dessert for any occasion—whether it’s a birthday bash or just a regular tuesday.
Trust me, everyone will be asking for seconds.
A Slice of History
Did you know that chocolate cakes have been around since the 19th century? back then, chocolate was a luxury. fast forward to now—this cake has evolved, and everyone can enjoy it! as far as modern takes go, quick chocolate cake with kitkat crunch brings a playful twist to the classic recipe.
With all that nostalgia and a little bit of crunch, it checks all the boxes for a chocolate lover.
Cooking this cake is a no-fuss deal too. prep takes about 15 minutes, and while it bakes for 30, you can use that time to clean up or catch up on your favorite netflix show.
Plus, you’ll only need a handful of ingredients—what’s not to love?
Why This Cake Rocks
Let’s get real: nobody wants to eat something that’s boring. this decadent chocolate cake is not just a pretty face.
There are some amazing health benefits tucked in too. cocoa powder is rich in antioxidants, and when you’re indulging in cake, at least you can feel good knowing it’s loaded with some nutrition .
But here’s the kicker: this cake is perfect for bringing out at parties or casual gatherings. it’s a crowd-pleaser, and kids will be all over it.
You can also customize it! swap in some different candy bars or add a dash of espresso for a mocha kick.
The options are limitless. and let’s be honest, who doesn’t love a layered chocolate cake decorated with candy?
The Real Deal Benefits
Now, what really makes this cake special? for one, it’s a simple chocolate cake recipe that even beginners can nail.
You can slap this together and feel like a baking wizard. plus, with that crunchy kitkat layer, it’s not your average cake.
It’s a towering delight that’ll make everyone say, “omg, where did you get this recipe?”
Need something to celebrate with? this cake’s got you covered—whether it's a birthday, holiday, or just because it’s thursday. and if you’re looking for kids’ dessert ideas , this definitely hits the spot.
Seriously, it's easier than making a bowl of cereal. you can have a fast chocolate treat ready for the crew in less time than it takes to order pizza!
Let’s Talk Ingredients
So, now you’re probably wondering how to make this masterpiece, right? we’ll tackle the ingredients next, but just know they’re pretty straightforward: flour, sugar, cocoa powder, eggs… and yes, kitkat bars of course! keep your eyes peeled, y’all, because i’ll guide you through the process step by step.
Get ready to blend that chocolate goodness with a delightful crunch. you won’t want to miss out!
Essential Ingredients Guide
Okay, let’s talk about the essential ingredients you need to whip up a deliciously decadent chocolate cake like our quick chocolate cake with kitkat crunch.
Trust me, you’ll want to keep these items stocked in your kitchen pantry.
Premium Core Components
First things first, let's break down your premium core components:
All-purpose flour: buy about 1¾ cups (220g) for that fluffy cake texture. look for finely milled flour ; it makes a difference! store it cool and dry, and it’ll last about 6-12 months .
Granulated sugar: you know you can’t skip sugar in a cake, right? get 1¾ cups (350g). quality sugar should look pure white and shouldn’t have clumps.
It’ll hang out in your pantry for around 2 years.
Cocoa powder: for that chocolatey goodness, you'll need ¾ cup (65g). pick a rich unsweetened cocoa—dark is often the best.
Store it in an airtight container to keep that flavor fresh for 2-3 years.
Baking soda and baking powder: a must-have dynamic duo! you’ll need 1½ teaspoons baking soda and 1 teaspoon baking powder.
Be sure to check expiration dates; both should last about 6 months after you open them.
Next up, let’s chat about eggs, milk, and all the good liquid stuff that makes everything moist and flavorful.
Signature Seasoning Blend
Now, let’s throw in the signature seasoning blend to elevate your cake with flavor. You'll want to enrich that chocolatey goodness:
Vanilla extract: get yourself 2 teaspoons. skip the imitation stuff! pure vanilla comes with a depth of flavor you can’t beat.
A high-quality bottle can last for about 5 years if stored wisely.
What about toppings? you can’t forget about those kitkat bars . chop up 2 cups (300g) for that crunchy, chocolatey layer on your cake.
Trust me, those kitkat bar toppings will rock your dessert world!
Smart Substitutions
Life gets busy, and sometimes you don’t have everything you need. Luckily, here are some smart substitutions that work wonders:
- Milk: Out of whole milk? No worries! Use buttermilk, almond milk, or whatever you have on hand.
- Sugar: Brown sugar can easily swap in for granulated sugar for a richer taste.
- Oil and Eggs: Pumpkin puree or applesauce can replace oil in a pinch, and flax eggs are a good substitute for those who are vegan.
Kitchen Equipment Essentials
Grab your trusty kitchen equipment essentials so you can bake like a pro. Here’s what you can’t skip:
- Mixing Bowls: Get a couple—a big one for wet and a smaller one for dry ingredients.
- 9-Inch Round Cake Pans: You’ll need 2. Pssst, line them with parchment paper to make removal a breeze!
- Measuring Cups and Spoons: Get the reliable ones, nothing beats accuracy!
- Cooling Rack: Crucial for cooling cakes evenly.
Now that we’ve covered the basics, you’re ready to rock this cake! Remember, Quick Chocolate Cake with KitKat Crunch is not just a dessert; it’s a celebration in every bite.
So let’s get to those step-by-step instructions. Get your favorite tunes going and let’s bake this beauty up!
Get Ready for Professional Cooking Method Hacks
Let’s dive right into the world of professional cooking, where you don’t just whip up food but create art! honestly, i remember the first time i tried my hand at baking.
Let’s just say, it was more epic fail than epic win . but now, i can whip up a quick chocolate cake with kitkat crunch like nobody's business!
Essential Preparation Steps
Mise en Place: The Magic Word
Before you even think about turning on that oven, get your kitchen ready. mise en place is french for "everything in its place.
" gather all your ingredients and tools. for your chocolate cake, you gotta have your flour, cocoa, sugar, and kitkat bars laid out, ready to go.
This step saves major time and headache later!
Time Management Tips are a Lifesaver
Set a timer! seriously. you need to keep track of prep and cook times, especially for that decadent chocolate cake, which cooks for about 30 minutes .
If you’re timing things, make sure you're always a few minutes ahead; it makes you look like a pro!
Organization Strategies: Clean Space = Happy Place
A cluttered counter leads to a cluttered mind. keep your work area clean. as you use items, put them in the sink or dishwasher to cut down on post-cooking chaos.
When it comes to baking with chocolate, trust me, less mess equals less stress.
Safety Considerations: Keep It Cool
Don’t forget to keep your kitchen safe! handle sharp knives and hot pans with care. if you’re handling boiling water for your cake batter, keep those hobbit feet safe, alright? you don’t want any accidents while you’re baking.
Step-by-Step Process
Ready to create your dessert masterpiece? Here’s how to get it done!
- Preheat your oven to 350° F ( 175° C) . This is your starting line!
- Combine dry ingredients: Sift together 1¾ cups flour, ¾ cup cocoa powder, and more in a large bowl.
- In another bowl, combine wet ingredients: Mix those eggs, milk, and oil like you're shaking it to a beat!
- Blend wet and dry ingredients: Slowly pour in the boiling water (be careful—it’s HOT), and mix until it’s smooth as silk.
- Pour batter evenly into two 9-inch pans and bake for 30- 35 minutes . Use the toothpick test; if it comes out clean, you’re golden.
- Let it cool: After baking, let the layers chill for about 10 minutes before moving them to a wire rack.
Expert Techniques
Critical Steps Explained
For maximum flavor, always make sure your ingredients are at room temperature. it makes a world of difference in your batter.
And don’t rush your mixing. take your time and enjoy the process!
Quality Checkpoints: The Feel Good Factor
While the cake is baking, check how it smells. a rich, chocolaty aroma means you’re in for a treat. also, when it’s cooling, make sure it’s not soggy in the middle—this is critical for a moist chocolate cake .
Troubleshooting Tips: Avoiding the Nightmare
If your cake sinks in the middle, don't freak out! most likely, it’s either underbaked or you overmixed. just learn and move on! every baker has been there; it’s part of the journey.
Success Strategies
Common Mistakes to Avoid
Don’t skip out on letting your ingredients sit at room temp. if they’re cold, your batter won’t blend right. and please, for the love of cake, measure ingredients accurately.
A little too much flour? your cake could turn out dry.
Quality Assurance Tips
Check for doneness often! It’s better to underbake slightly than overdo it. Your cake should bounce back lightly when touched.
Perfect Results Guide
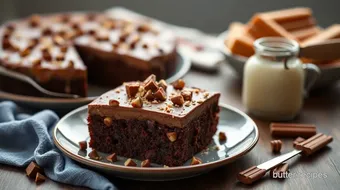
For a show-stopping finish, frost your cake while it’s still slightly warm! Use that chocolate frosting for cake and top it with your beloved KitKat bars for that extra crunch.
Make-Ahead Options
You can totally bake your layers a day in advance and keep them wrapped tightly. Frost right before serving for the best taste.
As you see, with these professional cooking methods, you’re not just making a cake—you’re creating a masterpiece. So grab those ingredients and get ready to impress your friends with a delicious homemade cake!
Additional Information...
Before you go off to bake that luscious quick chocolate cake with kitkat crunch , remember that kitchen fun is all about experimenting.
So don’t be afraid to add your twist! enjoy baking and make it your own. happy cooking!
Pro Tips & Secrets for a Delectable Chocolate Cake
So, you’re all set to whip up your quick chocolate cake with kitkat crunch ! awesome choice! let me share some pro tips from my own kitchen adventures that’ll help you nail this recipe.
First off, always go for room temperature ingredients . seriously, it makes such a difference! if your eggs and milk are warm, they mix together so much better.
I learned this the hard way—we’re talking lumpy batter. and for the love of chocolate, don't overmix! just stir until combined.
It keeps your cake light and fluffy.
Another secret of mine? boiling water at the end! it sounds weird, but it helps bloom the cocoa powder, making your cake extra moist and rich.
Trust me, you'll be glad you did.
And here's a little time-saver: if you’re short on time, use store-bought frosting ! you’ll still get that impressive chocolate cake vibe without the extra fuss.
Just make sure it’s a good quality one—no one wants to go for a gritty you-know-what.
Perfect Presentation: Take it Up a Notch!
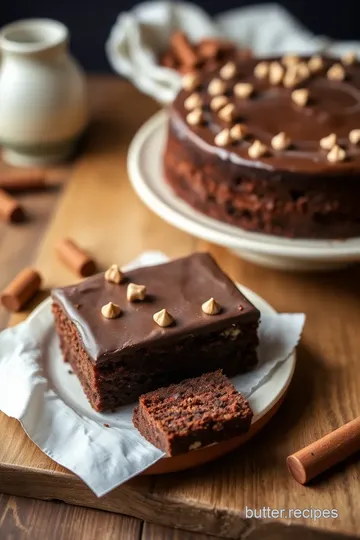
Okay, let’s talk about making your cake look as good as it tastes. when you layer that decadent chocolate cake , you want to impress your friends and family.
If you want it instagram-worthy, try out some plating techniques . stack the layers high and be generous with that frosting.
For a little flair, garnish with fresh berries . the vibrant colors against the rich chocolate create a striking visual. plus, they add a touch of tartness that balances the sweetness really nicely.
You could also drizzle some melted chocolate over the top—like that's gonna be hard to sell, right?
Storage & Make-Ahead for the Win
Now, if you can’t devour the whole cake in one sitting (which i get, but wow), let’s talk storage. wrap your homemade kitkat cake tightly in plastic wrap or pop it in an airtight container.
Cool cakes can stay fresh for about 3-4 days .
Want to freeze it? just slice it before storing to make it easier to grab that quick chocolate treat later.
It should keep well for about 3 months . just loosen it up on the counter before diving in.
Creative Variations: Switch It Up!
The best part about a simple chocolate cake recipe is how versatile it is. sure, the classic is great, but let’s mix it up a bit! for a super fun twist, try adding a little espresso for a mocha flavor.
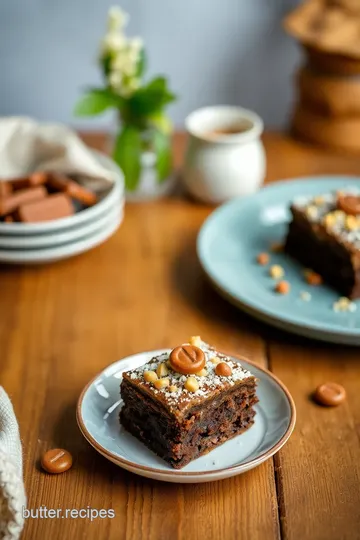
You could also swap out the kitkat with another chocolate bar or even a crunchy caramel one!
And if you want to keep it healthier, consider tossing in some chopped nuts for added crunch or even using whole grain flour instead.
There are endless chocolate cake variations at your fingertips!
Complete Nutrition Guide: Know What You’re Eating
Now, before you order takeout because you think dessert is a guilty pleasure, here’s some empowering news. this chocolate crunch cake isn't just delicious—it brings some health perks too! packed with energy from carbs and a small amount of protein, it can fit into your diet if served as an occasional treat.
Just keep an eye on those portions—maybe slice it into smaller pieces, especially if you’re serving it at a party.
Celebrate with Cake!
It’s time to roll up your sleeves and get baking! whether it’s a birthday bash, a family gathering, or just a cozy night in, this easy chocolate dessert is perfect.
Remember, what really matters is the fun you have while making it and the smiles it brings later on.
So go ahead and treat yourself and your loved ones to this delectable kitkat cake recipe . you’ll create memories around the kitchen while indulging in something fabulous.
You’ve got this, and i can’t wait to hear how it turns out!
Frequently Asked Questions
What makes the Quick Chocolate Cake with KitKat Crunch special?
The Quick Chocolate Cake with KitKat Crunch stands out due to its rich cocoa flavor combined with the delightful texture of crunchy KitKat bars. It's an easy recipe that not only satisfies chocolate cravings but also adds a fun twist with the crispy topping, making it perfect for any occasion.
Can I make the chocolate cake ahead of time?
Yes, you can prepare the cake layers in advance. Once cooled, wrap them tightly in plastic wrap or foil and store in the refrigerator for up to 3 days or freeze for up to a month. When ready to serve, allow the layers to come to room temperature before frosting and decorating.
How should I store leftovers of my Quick Chocolate Cake with KitKat Crunch?
Store leftover cake in an airtight container at room temperature for up to 3 days or in the refrigerator for about a week. If you have added frosting, refrigeration will help keep it fresh longer, but be sure to let it come to room temperature before serving for the best taste and texture.
What are some variations or substitutions I can try?
There are several fun variations you can explore! For a richer flavor, mix in chopped nuts or substitute half of the cocoa with espresso powder for a mocha variant. You can also switch out the KitKat for other chocolate bars or use a dairy-free option by replacing milk with almond milk and using dairy-free frosting.
Can I use a different type of frosting for the cake?
Absolutely! While chocolate frosting is a classic choice, you could use a lighter whipped cream or a flavored frosting like peanut butter or cream cheese for an interesting twist. Just make sure the frosting complements the flavors of the cake and the KitKat topping.
Is this Quick Chocolate Cake with KitKat Crunch suitable for special diets?
This cake can be adapted to suit various dietary needs. For a dairy-free version, use almond milk and dairy-free butter. You could also replace granulated sugar with brown sugar or a sugar substitute for a healthier option. Always check the labels of the ingredients used, such as the KitKat bars, for dietary restrictions.
Decadent KitKat Crunch Chocolate Cake Card
⚖️ Ingredients:
- 1¾ cups (220g) all-purpose flour
- 1¾ cups (350g) granulated sugar
- ¾ cup (65g) unsweetened cocoa powder
- 1½ teaspoons baking soda
- 1 teaspoon baking powder
- ½ teaspoon salt
- 2 large eggs
- 1 cup (240ml) whole milk
- ½ cup (120ml) vegetable oil
- 2 teaspoons vanilla extract
- 1 cup (240ml) boiling water
- 2 cups (300g) KitKat bars, chopped
- ½ cup (120ml) chocolate frosting
🥄 Instructions:
- Step 1: Preheat your oven to 350°F (175°C). Grease and line the cake pans with parchment paper.
- Step 2: In a large bowl, sift together the flour, sugar, cocoa powder, baking soda, baking powder, and salt.
- Step 3: In another bowl, whisk together the eggs, milk, vegetable oil, and vanilla extract.
- Step 4: Pour the wet ingredients into the dry mixture and beat until well combined. Carefully stir in the boiling water until the batter is smooth.
- Step 5: Divide the batter evenly between the prepared cake pans. Bake for 30-35 minutes, or until a toothpick inserted in the center comes out clean.
- Step 6: Allow the cakes to cool in the pans for 10 minutes, then transfer to a cooling rack to cool completely.
- Step 7: Once cooled, spread frosting on the top of one layer, add half of the chopped KitKat bars, then place the second layer on top.
- Step 8: Frost the top and sides of the cake, then sprinkle remaining KitKat bars on top.
Previous Recipe: Easy & Juicy Pressure-Cooked Ham Hearty Comfort Dish: My Fail-Proof Herb Glazed Method
Next Recipe: Indulge in Easy & Decadent Caramel Banana Bread: My Favorite Recipe