Delicious Queen Cakes Recipe
Make delightful Queen Cakes in just 30 minutes! This easy baking recipe features self-raising flour, butter, eggs. Perfect for tea time or dessert.

- About Introduction
- The Complete Guide to Authentic Queen Cakes
- Why This Recipe Will Amaze You
- Health & Nutrition Highlights
- Recipe at a Glance
- Perfect Ingredients Selection
- Kitchen Equipment Essentials
- Foolproof Cooking Steps
- Expert Kitchen Wisdom
- Perfect Presentation
- Storage & Make-Ahead
- Creative Variations
- Expert FAQ Solutions
- Complete Nutrition Guide
- Recipe Card
About Introduction
Queen cakes, a delightful treat with roots in British baking, have captivated taste buds for centuries. These small, light sponge cakes are often enjoyed with tea and have historical ties dating back to the Victorian era. Originally made as a special dessert for royal occasions, queen cakes symbolize elegance and indulgence. Their rich history adds depth to every bite, making them more than just a dessert; they are a piece of culinary heritage.
One unique selling point of queen cakes is their versatility. They can be customized easily by adding flavors like vanilla or chocolate chips. The balance between sweetness and texture creates an irresistible treat perfect for any occasion. Additionally, these mini cakes offer quick preparation time without compromising on flavor or quality.
The Complete Guide to Authentic Queen Cakes
Queen cakes boast a rich culinary heritage that reflects their origins in England's baking tradition. This charming pastry has evolved over the years but continues to maintain its classic appeal. Each cake tells a fascinating story that connects past generations with modern bakers who cherish this timeless recipe.
The cultural significance of queen cakes cannot be overstated; they are frequently served at afternoon teas and festive gatherings across the UK. In contemporary times, their popularity has surged beyond borders as people worldwide embrace these sweet delights at various celebrations.
Why This Recipe Will Amaze You
What makes this authentic queen cake recipe truly amazing? First, you’ll experience unique flavor combinations that tantalize your palate. Classic vanilla essence paired with optional chocolate chunks offers an explosion of taste that enchants dessert lovers everywhere.
This foolproof technique ensures even novice bakers achieve scrumptious results every time! Our expert-tested method guides you through each step seamlessly so you can feel confident while baking your own batch of these delicious treats.
Time-saving tips included in this recipe allow busy individuals to whip up queen cakes quickly without sacrificing quality or flavor—perfect for impromptu gatherings or satisfying cravings!
Health & Nutrition Highlights
While enjoying treats like queen cakes should always be done in moderation, there are key nutritional benefits worth mentioning! Made from simple ingredients such as self-raising flour and eggs, these little delights provide energy along with essential nutrients needed for daily activities.
For those mindful of dietary considerations, it’s easy to adapt this recipe using alternative ingredients tailored toward specific needs—like gluten-free flour options or plant-based butter substitutes—to accommodate different lifestyles without losing charm!
Wellness advantages come from choosing homemade desserts over store-bought versions filled with preservatives and artificial additives! By preparing your own batch of queen cakes at home using fresh ingredients allows you greater control over what goes into each cake while indulging guilt-free!
Balanced nutrition facts also play an essential role: each serving contains moderate amounts of carbohydrates alongside proteins derived mainly from eggs—a delightful way to enjoy something sweet while still being aware about healthful eating habits!
Recipe at a Glance
Here is everything you need to know about making these delectable treats:
- Total Preparation Time : Approximately 40 minutes (including mixing and baking).
- Skill Level Required : Beginner-friendly—ideal for all aspiring bakers.
- Serving Size Details : Makes 6 servings; perfect for sharing!
- Cost Efficiency : Budget-friendly ingredients make it easy on your wallet without compromising quality or taste!
In summary, incorporating Queen Cakes into any gathering will surely impress guests while offering them a delightful experience steeped in history and flavor! Embrace the joy of baking today by trying out our step-by-step guide—you won’t regret it!

Perfect Ingredients Selection
Premium Core Ingredients
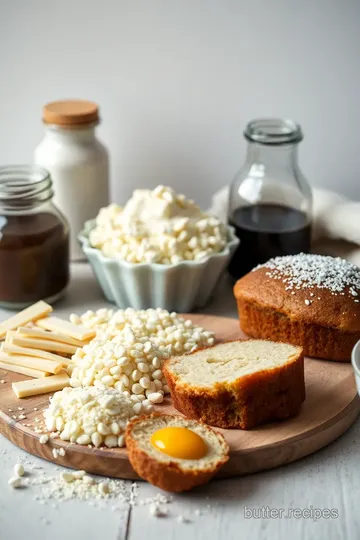
To create delicious Queen Cakes, it’s essential to start with premium core ingredients. Here’s what you need and how to select the best options:
-
Self-Raising Flour : Use 65 g of self-raising flour for a fluffy texture. Look for flour labeled specifically as "self-raising." Check the packaging for a fine consistency without lumps.
-
Butter : Opt for 50 g of softened butter. Choose unsalted butter for better control over salt levels in your cake. Freshness is key—check the expiration date and ensure it's creamy without any off odors.
-
Sugar : You’ll need 6 tablespoons of sugar , preferably granulated or caster sugar. For optimal sweetness, pick brands that are pure with no additives.
-
Eggs : Incorporate 2 large eggs into your batter. Select organic or free-range eggs where possible; they often provide richer flavor and color.
-
Milk : Use around 50 ml of milk , adjusting if needed for consistency. Whole milk offers creaminess, but low-fat versions work in a pinch too.
-
Vanilla Essence : A splash to taste will enhance your cakes’ flavor profile. Look for pure vanilla extract rather than imitation to get authentic taste notes.
Storage Guidance
Store all dry ingredients in airtight containers at room temperature, away from moisture and heat sources, while refrigerated items like butter and eggs should be kept in their original packaging until use.
Signature Seasoning Blend
Elevate your Queen Cakes with this signature seasoning blend:
Spice Combinations
Incorporate warming spices like cinnamon or nutmeg (just a pinch) to add depth and warmth to the flavor profile of your cakes.
Herb Selections
While herbs aren’t traditional in sweet cakes, consider fresh mint leaves finely chopped as an unexpected twist when serving.
Flavor Enhancers
A dash of salt balances sweetness beautifully; remember it’s just a pinch! Additionally, lemon zest can brighten flavors wonderfully without overpowering them.
Aromatic Additions
For added aroma, infuse some almond essence alongside vanilla essence—this adds complexity that elevates every bite!
Smart Substitutions
Need alternatives? Here are some smart substitutions:
Alternative Options
If you’re out of self-raising flour, combine plain flour with baking powder (1 tsp per 100g).
Dietary Swaps
For lactose intolerance or dairy-free diets, swap regular milk with almond or oat milk easily! Coconut oil can replace butter while still yielding moist results.
Emergency Replacements
In case you don’t have eggs on hand, one tablespoon of flaxseed meal mixed with three tablespoons water works well as an egg substitute!
Seasonal Variations
Seasonal fruits like blueberries or raspberries can be folded into the batter during preparation to add bursts of freshness when baked!
Kitchen Equipment Essentials
Equip your kitchen properly before diving into this delightful recipe:
Must-Have Tools
A mixing bowl is vital for combining ingredients smoothly while measuring spoons help accurately portion everything out.
Recommended Appliances
An electric whisk makes beating easier and faster compared to manual methods—it saves time especially when mixing egg whites!
Helpful Gadgets
Silicone spatulas are great for scraping down bowls ensuring nothing goes wasted—perfectly incorporating all ingredients together!
Home Alternatives
Don’t fret if lacking certain tools; mason jars work well instead of bowls! And use any flat surface as a cutting board if necessary—you adapt!
Pro Ingredient Tips
Selection Secrets
Always choose local produce whenever possible—it tends to be fresher! Buy only what you know you'll use frequently so nothing goes bad quickly either!
Quality Markers
Examine packaging carefully; avoid those containing preservatives unless necessary—they can affect both taste & healthiness overall significantly over time too!
Storage Solutions
Keep flours stored cool/dry places; refrigerating opened packages extends shelf life dramatically without compromising quality whatsoever too much later on either way still ultimately beneficial though overall fundamentally essential thus crucial here definitely immensely worthwhile indeed greatly enhances longevity here nicely thus highly recommended strongly advised...
Foolproof Cooking Steps
Essential Preparation Steps
Before you start cooking, gather all your ingredients. This is called mise en place. Measure out the right amounts of each ingredient. It saves time and keeps you organized while cooking.
Next, prep your ingredients properly. Wash, chop, or slice vegetables first to ensure they are ready for use. For proteins like meat or fish, make sure they are thawed if frozen and cut into even pieces for consistent cooking.
Time management is key in any kitchen. Allocate specific time slots for prepping each ingredient. A good rule is to spend about 15-20 minutes on preparation before moving to actual cooking.
Stay organized by keeping your workspace tidy. Use bowls for chopped items and keep utensils within reach. This will help reduce stress as you cook and let you focus on the dish at hand.
Professional Cooking Method
Once you're prepared, it’s time to follow a step-by-step process for success in the kitchen. Start with heating your pan or oven according to recipe requirements—typically preheat ovens to 180°C (350°F) before baking.
Control temperature carefully throughout the cooking process. If you're sautéing vegetables, maintain medium heat so they cook evenly without burning.
Timing precision is vital when following recipes; stick closely to recommended times unless noted otherwise. For example, if something needs simmering for 10-15 minutes , set a timer so you don’t lose track of it.
Success indicators vary but usually include visual cues like golden-brown color or bubbling liquids that signal doneness in cooked foods.
Expert Techniques
Incorporate professional methods into your cooking routine for better results! One essential technique includes searing proteins at high heat initially before lowering it down once browned; this ensures flavor retention through caramelization.
Pay attention during critical steps such as adding spices or adjusting liquid levels in sauces—these moments greatly affect overall taste! Stirring frequently can prevent sticking and burning when working with delicate mixtures like risottos or custards.
Precision points matter too: using an instant-read thermometer can ensure meats achieve safe internal temperatures—for chicken that’s typically around 75°C (165°F) while beef varies based on preference (medium rare being about 57°C/135°F ).
Perform quality checks along the way by tasting dishes periodically; this allows adjustments early on rather than waiting until serving time!
Success Strategies
Troubleshooting tips can save a meal from disaster! If a sauce seems too thin after reduction efforts fail, consider thickening agents like cornstarch mixed with cold water instead of prolonging simmering times unnecessarily.
Quality assurance should be part of every dish—look out for off smells or discolorations which may indicate spoilage before beginning preparations! Always check expiration dates on products used during mise en place too!
For perfect results guide: remember patience yields great flavors! Allow roasts enough resting time post-cooking; juices redistribute ensuring tenderness throughout cuts of meat when served later after resting around 10-15 minutes off heat sources will yield optimal outcomes!
Lastly, add final touches just before serving—it could be fresh herbs sprinkled atop dishes enhancing presentation significantly while contributing extra layers of flavor guests will love!
By following these foolproof steps—from preparation through expert techniques—you’ll master any recipe efficiently producing delightful meals consistently every time!

Expert Kitchen Wisdom
Professional Insights
Baking queen cakes can seem daunting, but with the right approach, it becomes a delightful experience. Always use room-temperature ingredients for better mixing and texture. This small tip helps achieve a smoother batter and more uniform baking.
Expert Techniques
To ensure perfect queen cakes every time, measure your flour accurately. Too much flour can lead to dry cakes, while too little may cause them to collapse. Use the spoon-and-level method for precise measurements.
Kitchen Wisdom
Mixing is crucial! Avoid overmixing after adding wet ingredients; this can develop gluten and make your cakes tough. Mix just until combined for light and fluffy results that melt in your mouth.
Success Guarantees
For consistent outcomes, invest in quality bakeware. Using non-stick pans or lining them properly ensures easy removal of your treats post-baking. Follow these tips, and you’ll have guaranteed success with each batch!
Perfect Presentation
Plating Techniques
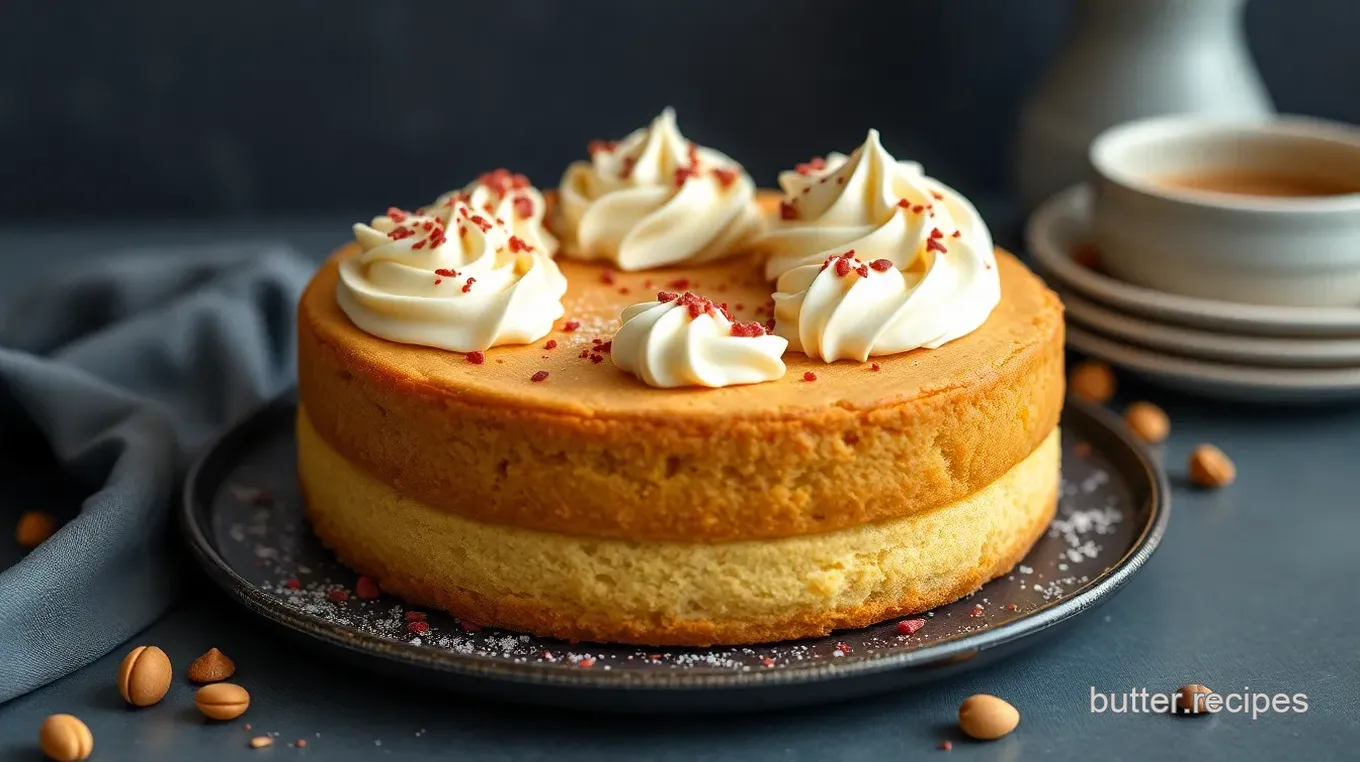
Presentation elevates any dessert! For queen cakes, consider using a simple white plate to highlight their golden color. Place each cake slightly off-center for an artistic look.
Garnish Ideas
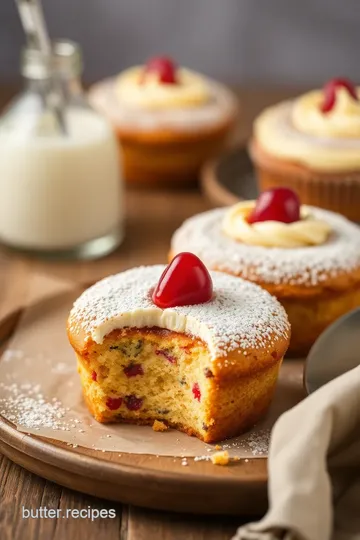
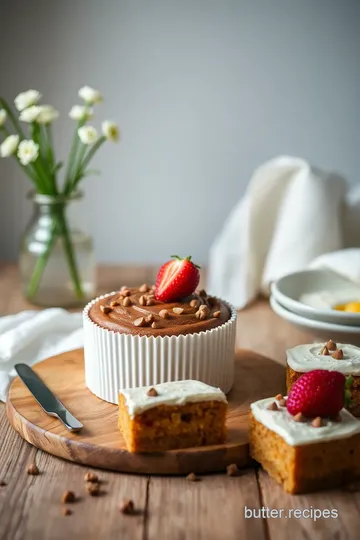
Fresh fruits like berries or edible flowers make excellent garnishes. A sprinkle of powdered sugar adds elegance without overwhelming flavors—perfect for impressing guests!
Serving Suggestions
Serve queen cakes warm with whipped cream or ice cream on the side for a comforting twist. Pairing them with tea enhances the overall experience while making it feel special.
Visual Appeal Tips
Create contrast by serving dark chocolate ganache alongside lighter-colored cakes. Drizzle sauces or sprinkle colors around plates to enhance visual appeal further—your desserts deserve that extra touch!
Storage & Make-Ahead
Storage Guidelines
Store any leftover queen cakes in an airtight container at room temperature for up to three days to maintain freshness. For longer storage, refrigerate them wrapped tightly in plastic wrap.
Preservation Methods
Freezing is also an option! Wrap individual queen cakes in foil before placing them in freezer bags—this allows you to enjoy treats whenever cravings strike.
Reheating Instructions
When ready to eat frozen queen cakes, simply thaw overnight in the fridge then reheat briefly in the oven at 150°C (300°F) until warmed through—around 10-15 minutes should suffice.
Freshness Tips
To keep your freshly baked goods moist longer, consider adding a slice of bread into storage containers—it absorbs moisture without altering flavor significantly!
Creative Variations
Flavor Adaptations
Experimentation opens doors! Try incorporating lemon zest or almond extract instead of vanilla essence for unique flavors that surprise your taste buds.
Dietary Modifications
For healthier alternatives, swap out regular butter with coconut oil or reduce sugar content using stevia as sweeteners—you’ll still enjoy delicious results without guilt!
Seasonal Twists
Embrace seasonal ingredients by adding pumpkin puree during fall months or fresh cherries during summer—they bring vibrant flavors suited perfectly throughout different times of year!
Regional Variations
Explore regional takes on queen cakes by infusing spices like cardamom popularized across various cultures—a fun way to celebrate global culinary traditions from home kitchens!
Expert FAQ Solutions
Common Concerns
Many bakers worry about flat tops on their queen cakes; this usually stems from under-mixing batter or insufficient baking time—ensure both are well achieved next attempt!
Expert Answers
If you encounter crumbling when cutting into baked goods? Check if they’ve cooled completely before slicing; cooling helps set structure enabling cleaner cuts effortlessly than rushing through this step would allow otherwise...
Troubleshooting Guide
Should you find yourself facing dense textures after baking? Consider checking oven temperature calibration; inaccurate readings often lead directly toward undesired results compared against expectations set forth prior starting tasks undertaken…
Success Tips
Always read recipes thoroughly beforehand so no steps get overlooked—the clarity provided ensures smooth sailing throughout entire cooking process leading ultimately towards triumphant outcomes enjoyed thereafter fully appreciated momentarily shared together!!
Complete Nutrition Guide
Detailed Breakdown
Each Queen Cake contains approximately 150 calories , depending on specific additions made during preparation ensuring awareness surrounding indulgence levels maintained consistently monitored effectively considered accordingly…
Health Benefits
These delightful treats offer energy boosts thanks primarily sugar content present naturally occurring components found within recipe’s framework contributing positively towards satisfying cravings experienced periodically encountered regularly thereafter…
Dietary Information
Queen Cakes provide minimal protein requiring accompaniment alongside higher-protein options such as yogurt help balance nutrition profiles optimizing dietary intake achieved successfully overall enhanced health benefits gained consistently accrued strategically pursued long-term objectives realized effectively seamlessly integrated lifestyle choices embraced passionately advocated continuously encouraged persistently valued…
Portion Guidance
Aim for one cake per serving size unless hosting larger gatherings where offering additional portions extends beyond initial servings comfortably accommodating guest experiences cultivated personally shared amidst joyous occasions celebrated collectively treasured fondly remembered always forever cherished moments captured beautifully reminisced upon later down road…

Delicious Queen Cakes Recipe Card

⚖️ Ingredients:
- 65 g Self-Raising Flour
- 50 g Butter (softened)
- 6 tbsp Sugar
- 2 Eggs
- 1 Pinch Salt
- 50 ml Milk (plus extra for consistency)
- Vanilla Essence (to taste)
🥄 Instructions:
- Step 1: [Preheat your oven to 180°C (350°F).]
- Step 2: [Prepare your cake mold by placing queen cake papers in each cavity.]
- Step 3: [In a mixing bowl, add the dry ingredients: self-raising flour, sugar, and salt.]
- Step 4: [Make a well in the center of the dry mixture.]
- Step 5: [Add the softened butter, eggs, vanilla essence, and half of the milk into the well you created.]
- Step 6: [Whisk all ingredients together until you achieve a smooth batter.]
- Step 7: [Gradually add more milk as needed to check and adjust the consistency of the batter.]
- Step 8: [Using a tablespoon, scoop equal amounts of batter into each of the six prepared molds.]
- Step 9: [Place in preheated oven and bake for 20–25 minutes, or until a skewer inserted into the center comes out clean.]
- Step 10: [Once baked, remove from oven and let cool slightly before glazing with chocolate ganache.]
Previous Recipe: Bake Cheesy Bacon Hash Browns in 1 Hour
Next Recipe: Bake Cherry Cake with Sweet Apricots
